Feast On This: Yellowjackets Cosplay
It’s now less than a month before us fans are welcomed back into the wilderness for the third installment of Showtime’s Yellowjackets - the angsty adult/teen drama that smacked us with 90’s nostalgia, tricky forest spirits, and cheeky cannibalism. In honor of my favorite soccer team, I thought it was fitting to share the crafting process behind our costumes for New York Comic Con.
The Antler Queen
Following the end of the first season, we may have binged this show unashamedly a few dozen times to note all the wardrobe details. With only a few seconds worth of screen time, the Antler Queen was definitely the most challenging. It was a lot of trial and error (lots of error), but the end result was worth it.
Elements
Robe
1 large canvas drop cloth from the hardware store for base of the robe
1 sets of fake antlers for the back detail
Metal clothing snaps for front opening and detachable back antlers
Black hair extensions, cut into ~1-inch strips
Black fabric dye for the grungy bottom edges
I draped the canvas cloth on a dress form or a person, to get a sense how long the robe should be. Channeling my inner punk, I ripped the fabric along the bottom edges and up the front for the robe opening.
After staining the bottom of the robe with the fabric dye to give it a muddy look, I made a makeshift harness with the extra canvas fabric and metal snaps to hold the antlers in place on the back shoulder blade area, keeping them detachable so the costume-wearer could sit on a bus or train to comic con comfortably. More metal snaps were sewn onto the front to keep the robe closed.
For the hair extensions, each cutout piece was wrapped with a bit of fabric at the ends for security. After slashing holes throughout the robe, the extensions were fed through the holes and sewn into place.
Antler Headpiece
Headpiece base, basically a large headband wrapped in white jersey fabric strips
1 sets of fake antlers
Beige mesh overlay fabric
A beige baby blanket (face mask under headpiece)
Some random beads
The base layer started with transforming the baby blanket into a ski mask. I wired the fake antlers to the headband and wrapped the fabric strips around the headband for both stability and head cushion. The beige mesh fabric was then laid on top of the antlers, with the finishing touches of beaded jewelry sewn into the mesh along the antler area.
Misty F!!cking Quigley
Elements
Jacket
Navy windbreaker
Yellow ripstop nylon
Yellow & navy striped trim for collar & sleeves
Yellow zipper
Iron-on school emblem decal
Acrylic fabric paint
I love Misty’s chaotic energy and instantly wanted to cosplay her teen version. After searching the internet in vain for the right yellow/blue color block combo, I instead decided to try my hand at sewing it together. It was a bit of a Frankenstein process: I started with disassembling an already-finished navy jacket and added yellow fabric pieces to do the color blocking.
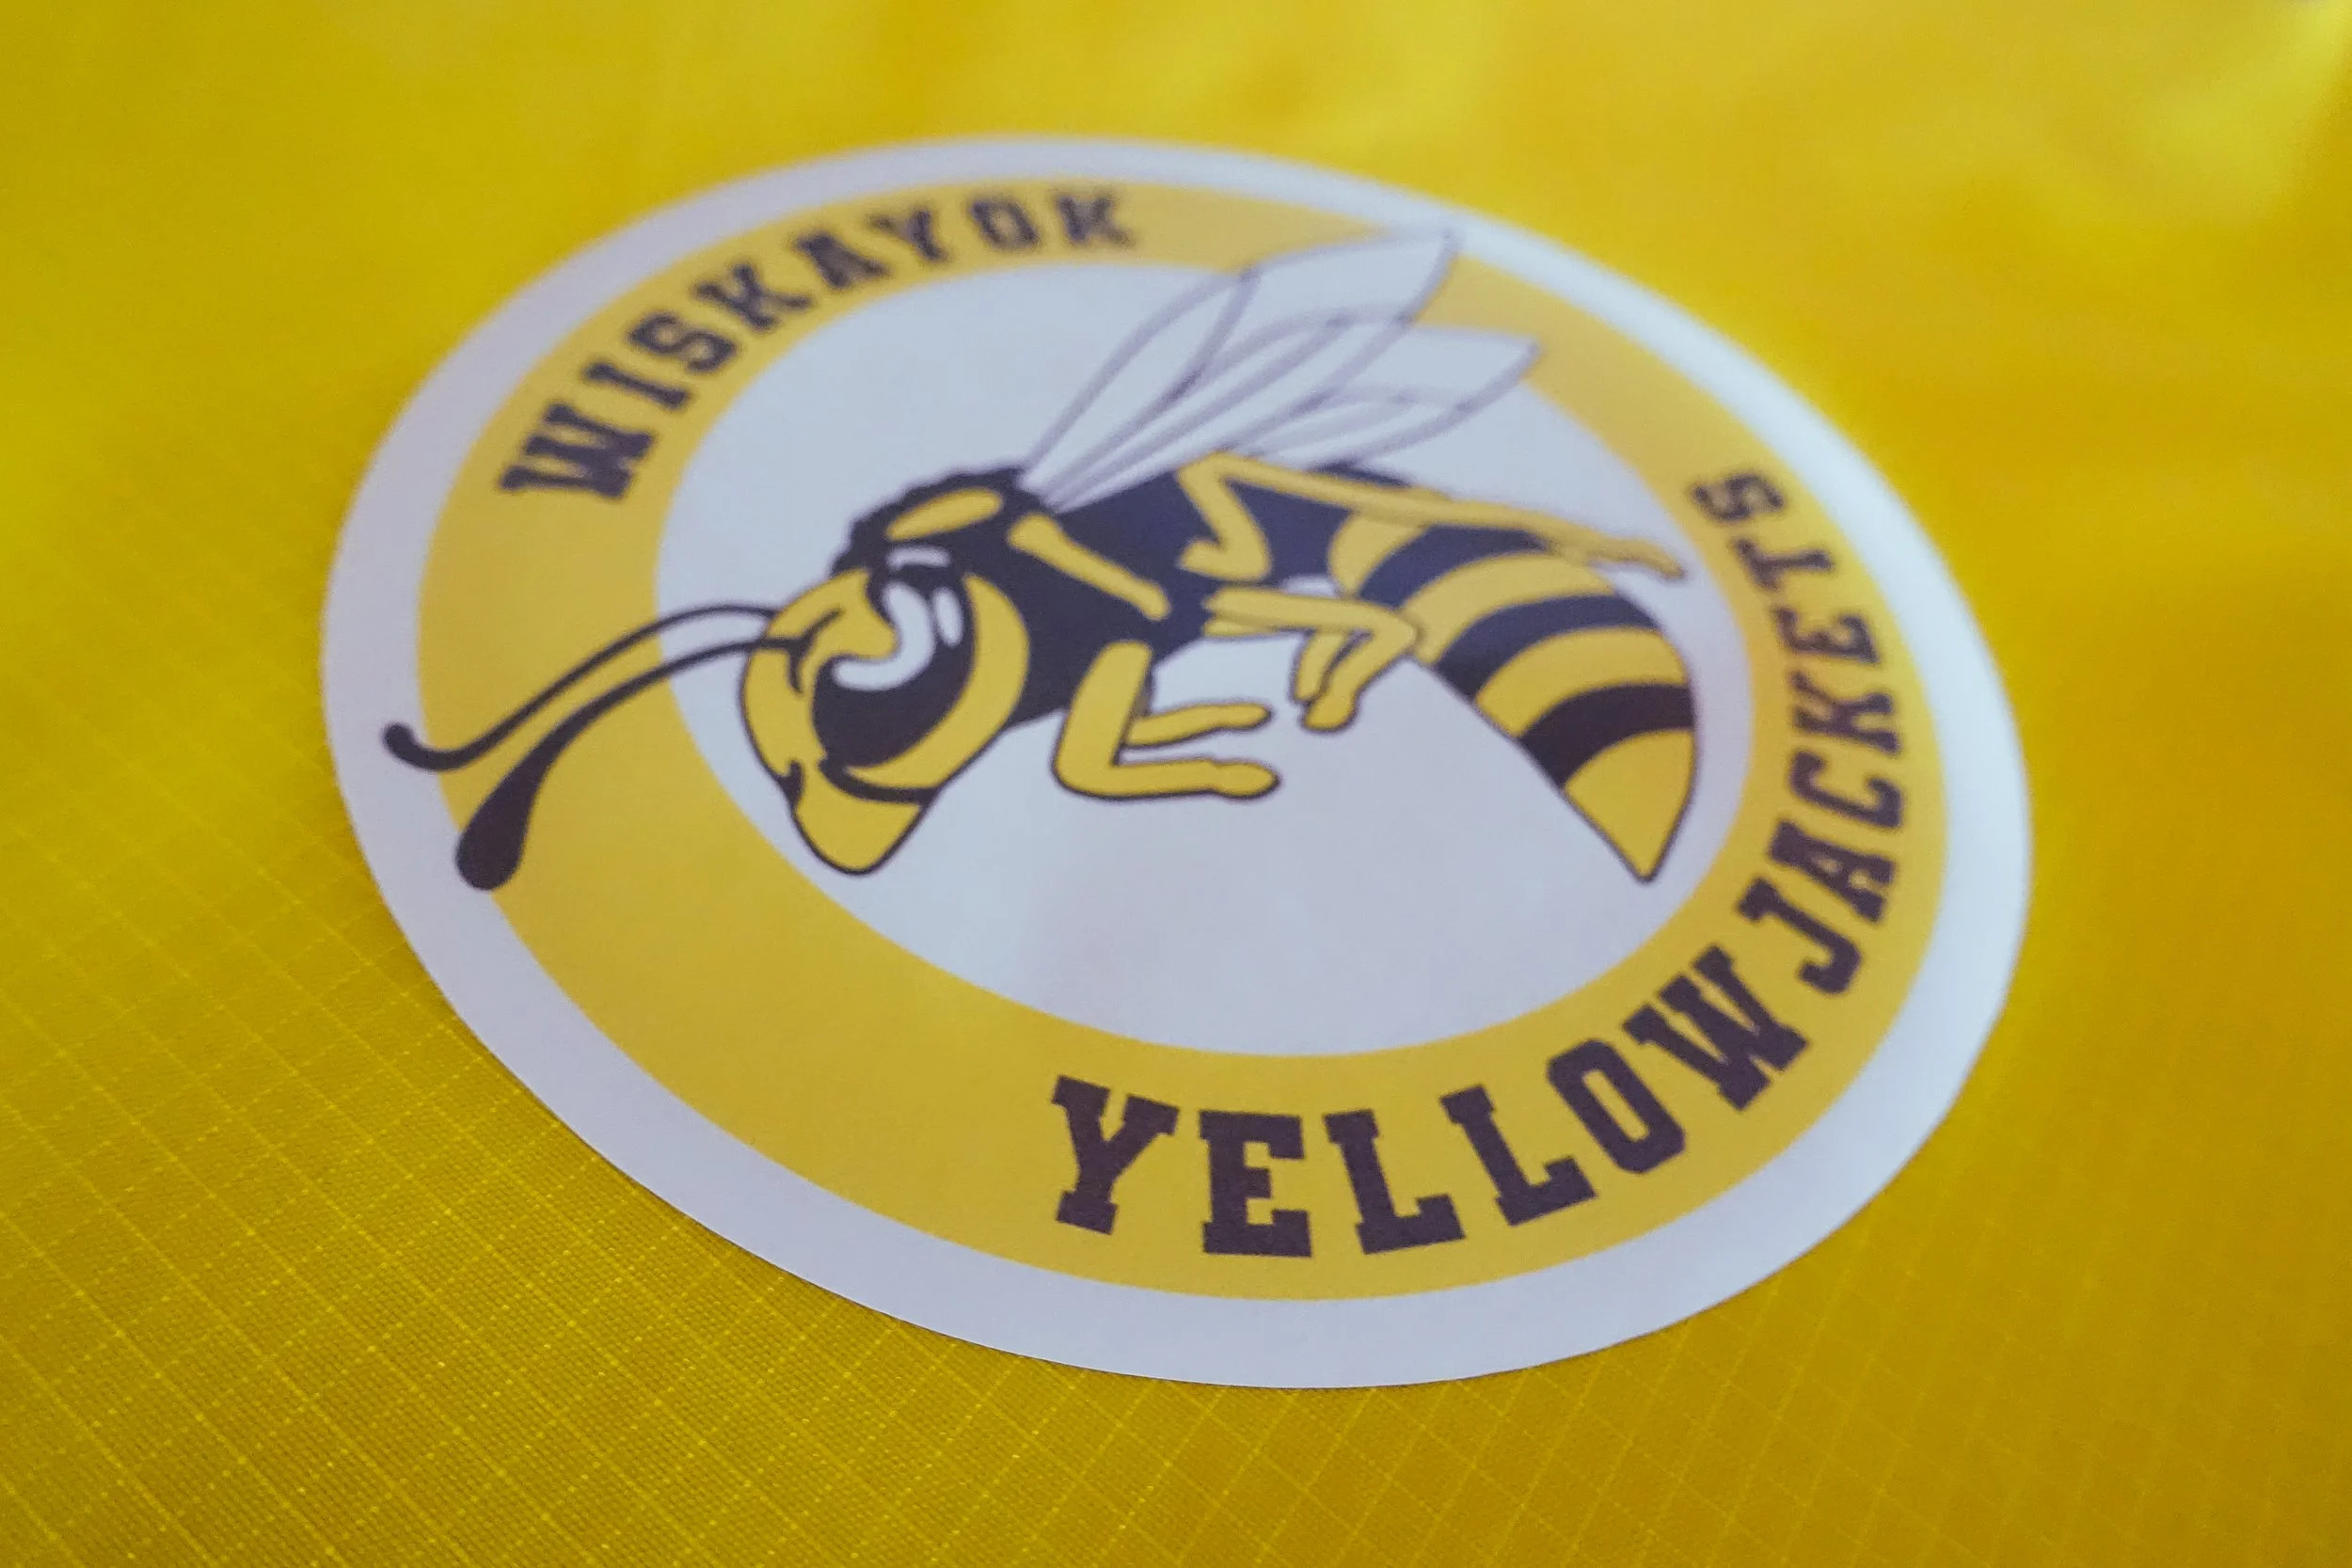
After adding the trim to the sleeve cuffs and neckline collar, I installed the front jacket zipper, ironed on my custom Yellowjackets decal, and painted on the “equipment manager” lettering with stencils (this easily could’ve been another iron-on, but I don’t have a printer).
Emergency Axe
Cardboard
Craft glue
Joint compound
Silver and black acrylic paint
The axe base was traced onto cardboard layers which I cut out and sandwiched together with glue. To smooth out the cardboard’s surface and get more edge detail, I used joint compound to sculpt out the shape of the axe. After letting the compound dry, I painted the surface with acrylic and glued on black nylon webbing to give the axe handle a little more detail.
Doomcoming Lottie
I’ll admit, this one is just for show and totally not long-term wearable. Still, the headpiece was so fun to make because who doesn’t love decorating their cult headdress before a prom in the woods?
Elements
Fake antlers (again)
Headband base (again)
White mesh material
Faux florals and greenery
Faux leather/vinyl fabric for the animal skin
Craft glue & hot glue
Similar to the Antler Queen headpiece, this one started with connecting the antlers and headband using wire. In between the antlers, I glued a scrap of faux leather to the top of the headband to mimic the deer head skin. After positioning the mesh on top of the antlers to get the right drape, I hot glued a variety of forest flowers and greenery onto the headpiece.
I did attach some ribbon to the ends of the headband to try to keep the thing somewhat anchored, but the antlers I used ended up getting a bit heavy. Doing it over again, I would try a more lightweight solution like wire, aluminum foil, and paper mâché.
To complete the look, don’t forget wine-stained lips, dirty face, and maybe some knowledge of French.
Coach Ben
Where’s the team without a coach? This was (thankfully) a pretty simple costume, considering the other ones. The key to this was getting the sweatshirt custom printed and having a cosplayer that leans into being constantly exasperated.
Elements
Bloody leg bandage
White jersey fabric to form leg sleeve
Red fabric acrylic paint to make it bloody
Yellowjackets logo sweatshirt
Vector logo designed in Illustrator
Printed at Custom Ink
Final Costumes
With the team dressed, we’re ready for nationals! Buzz buzz buzz! 🐝
The costume collection
Bonus wilderness survivor! It’s easy to throw together with a hoodie, sweats, and furry blanket.
Misty and Ben at NYCC


